26 August, 2025
Building My Smart Home - Part 1: Home Assistant
Designing a smart home system from electrical wiring to Home Assistant automations, using affordable devices and network-inspired architecture.
- Finding the Perfect Apartment
- Ideas & Plan
- Layer 1: Electrical wiring (220V system)
- Layer 2: Low-voltage wiring (12V, 5V, 3.3V, signals)
- Layer 3: Network layer (LAN, WLAN, RF433, etc.)
- Layer 4: Transport layer (TCP, UDP, Serial, etc.)
- Layer 5: Data layer (schemas, parsing)
- Layer 6: Automation layer (hassio configs)
- Raspberry Pi Setup
- Home Assistant Configuration
- Network Configuration
- Integrations
- Custom addons
- Next Steps
Living in France since 2018 and finally getting married in 2024, it's about time I tackled one of my lifelong dreams: building a proper smarthome. I've been tinkering with programming and electronics since I was a kid, so incorporating all that knowledge into automating my living space has always been on my mind. It's like bringing those childhood experiments to life on a bigger scale.
Finding the Perfect Apartment
The biggest hurdle right out of the gate? Finding and buying the right apartment - that's the foundation of everything. My wife and I spent a solid two months visiting different cities in the South and South-East of Paris before settling on a duplex near Versailles. Then came four months of paperwork hell - classic French bureaucracy 😂 We finally closed the deal in June 2025.
When we got the keys, the place was in rough shape. But that's was expected. We planned to rebuild the entire interior and start from scratch. It was a massive undertaking, but we were determined to make it our own.
(Left: Before renovation. Right: After renovation)
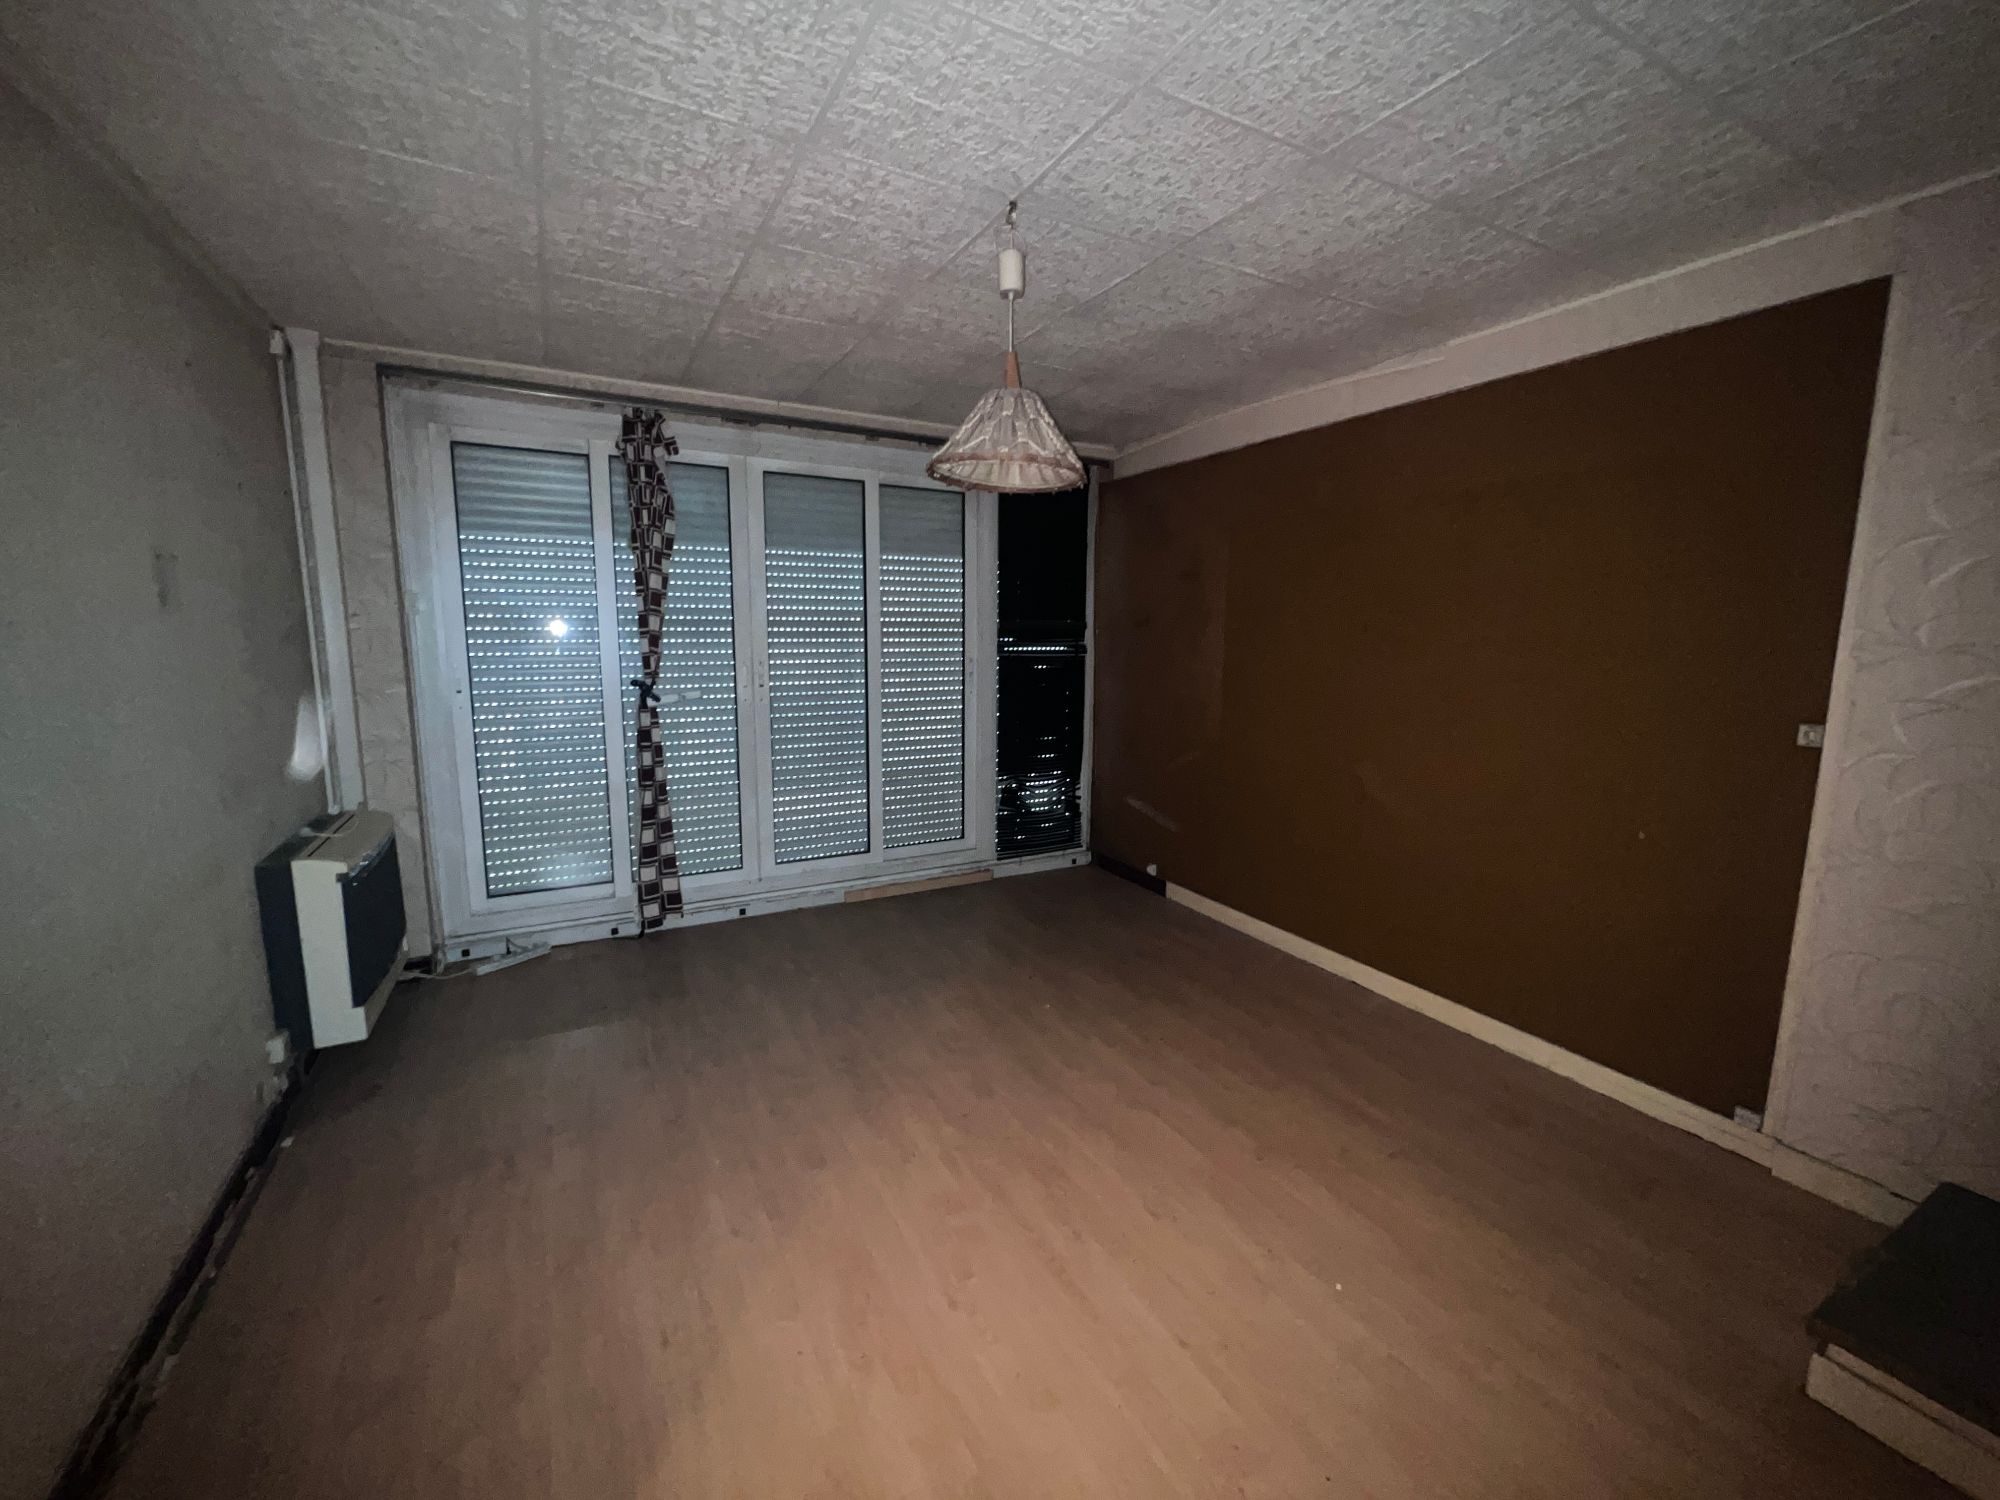
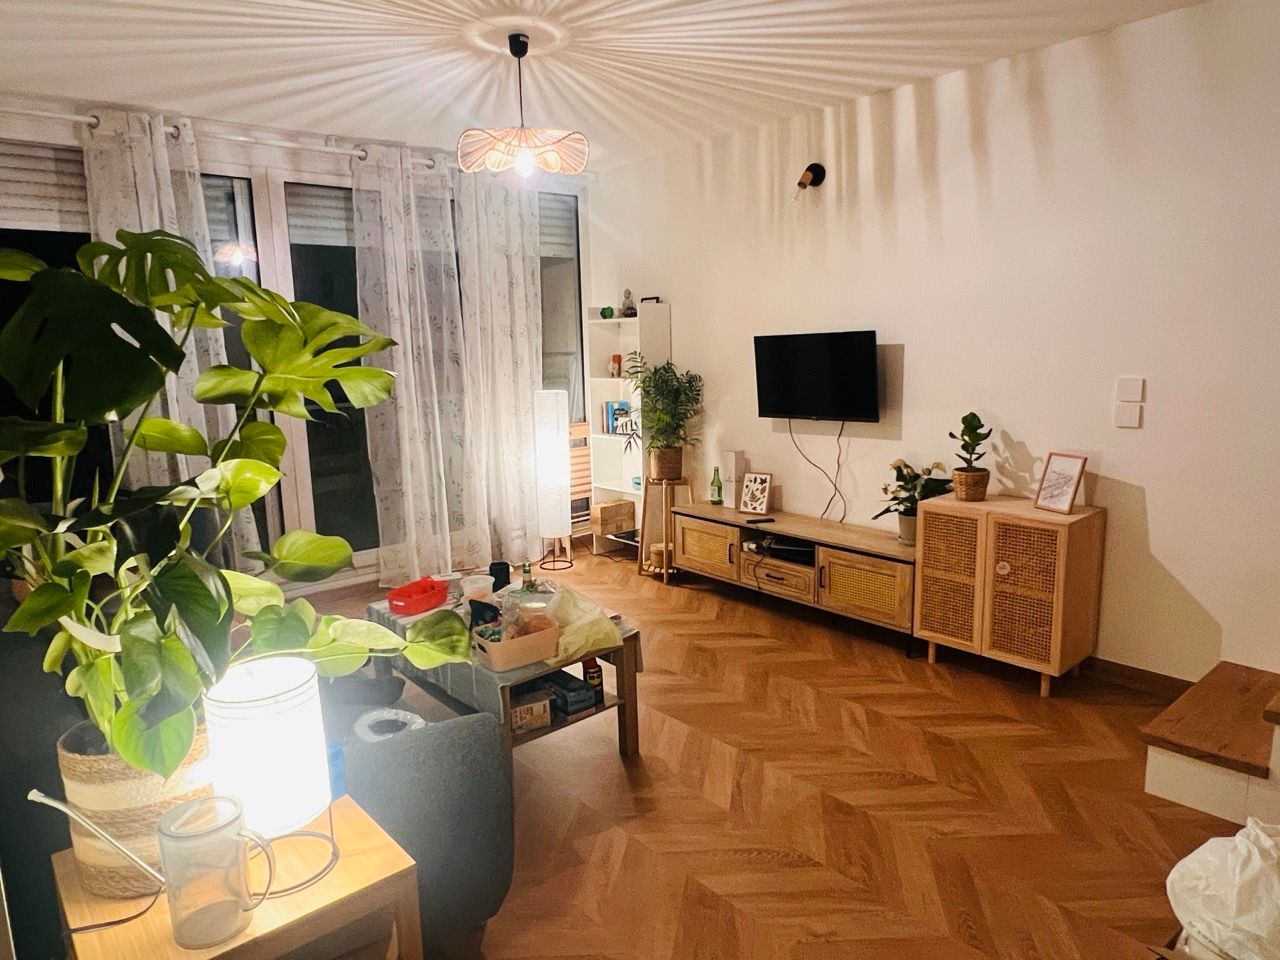
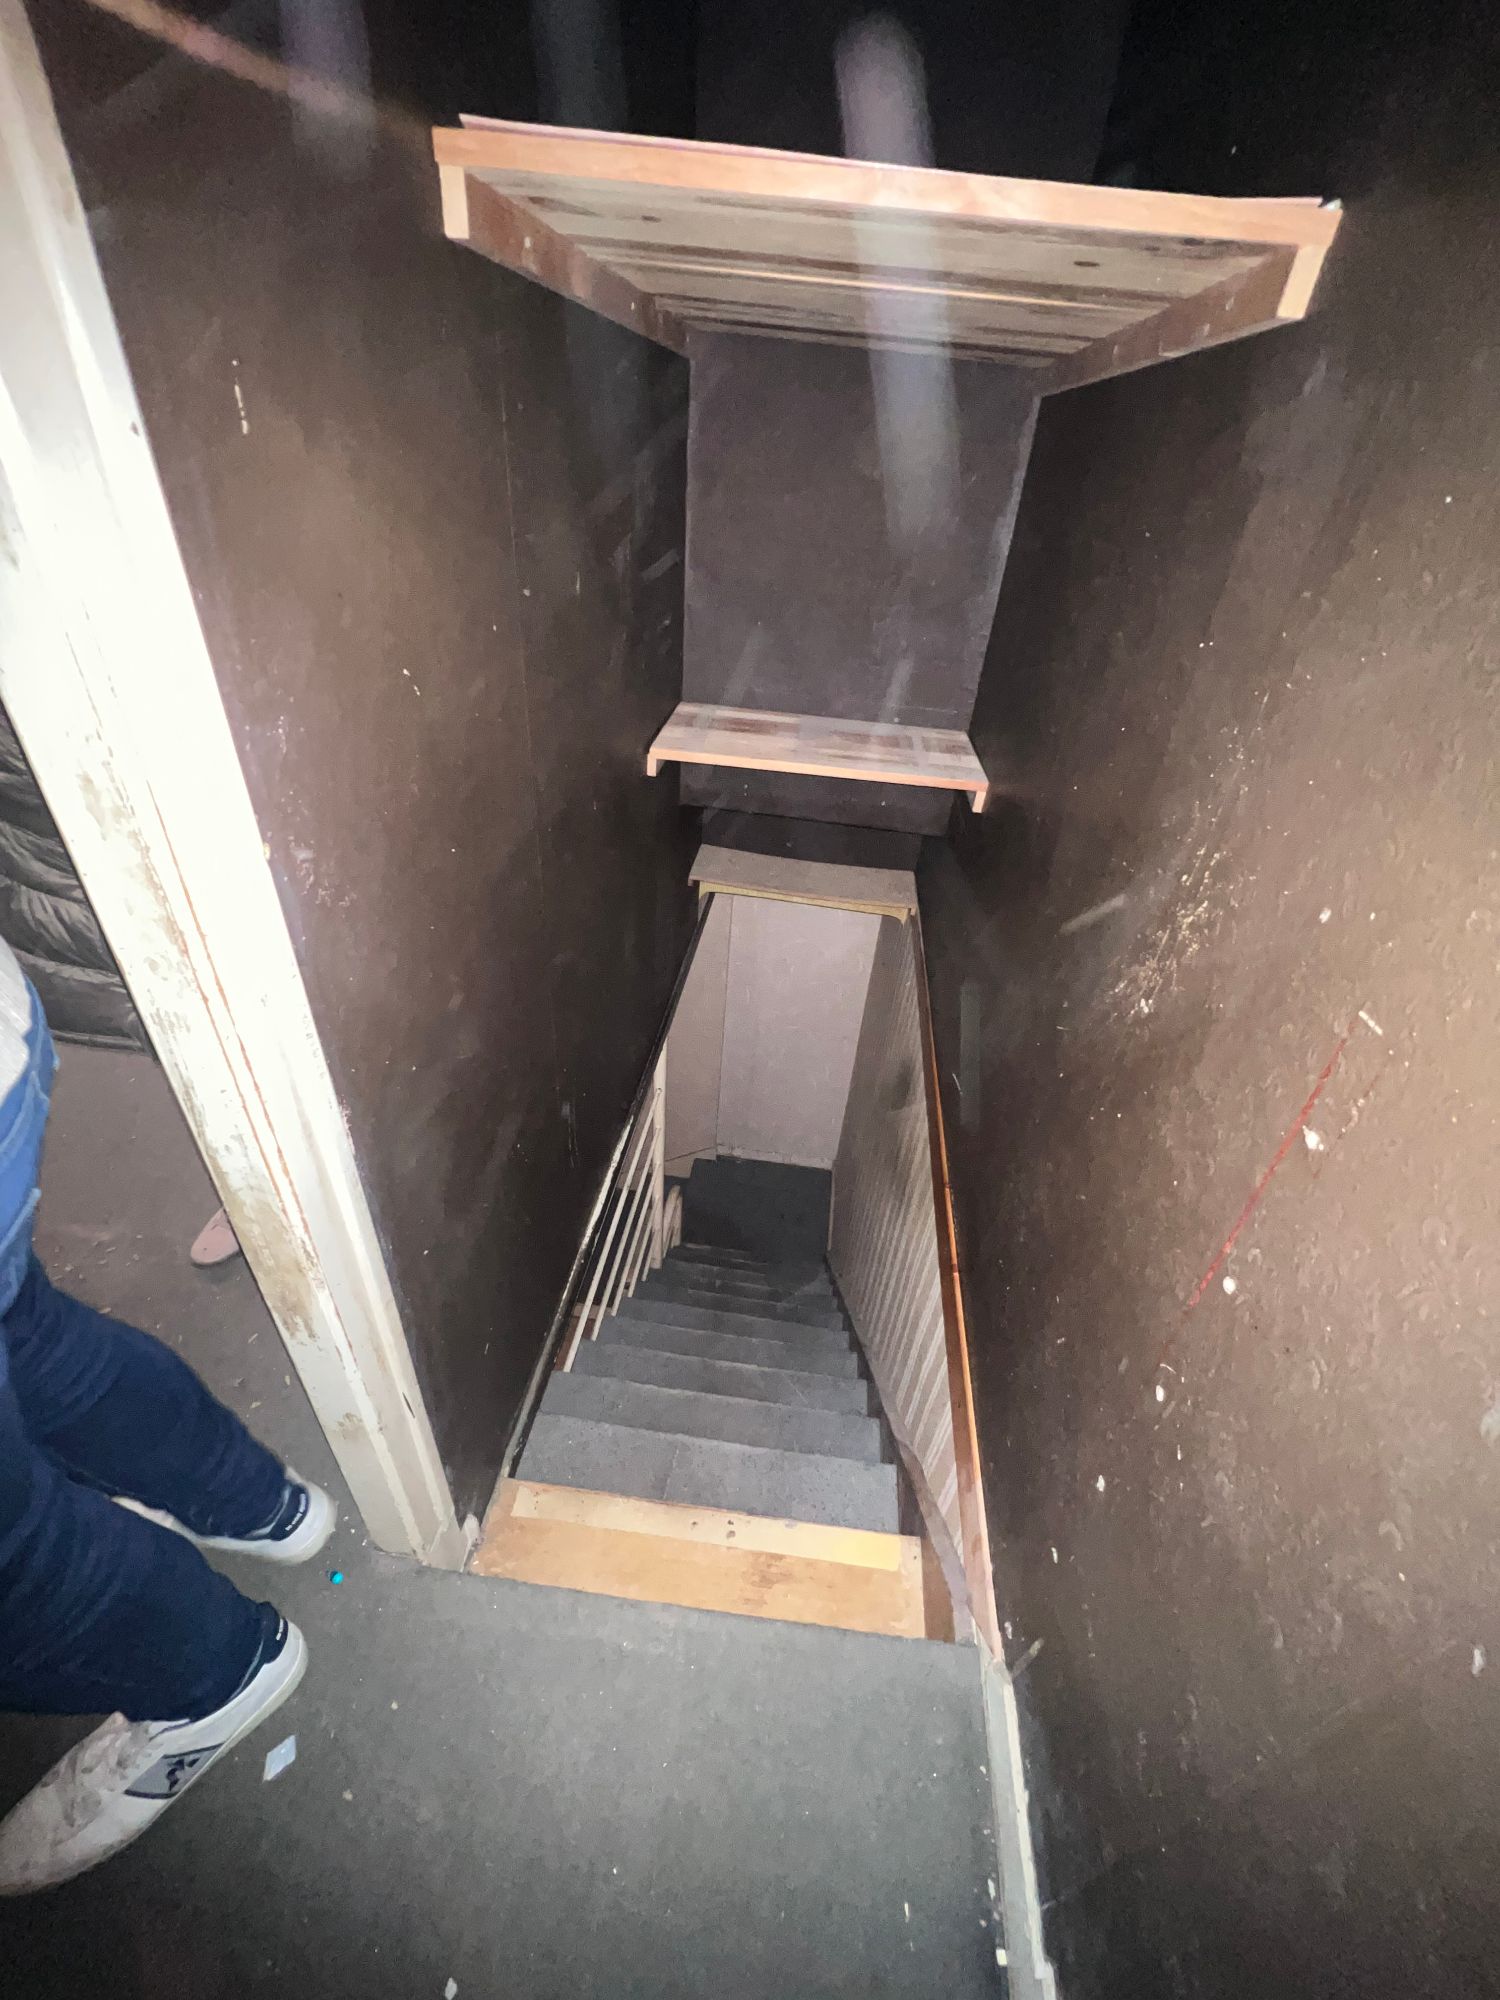
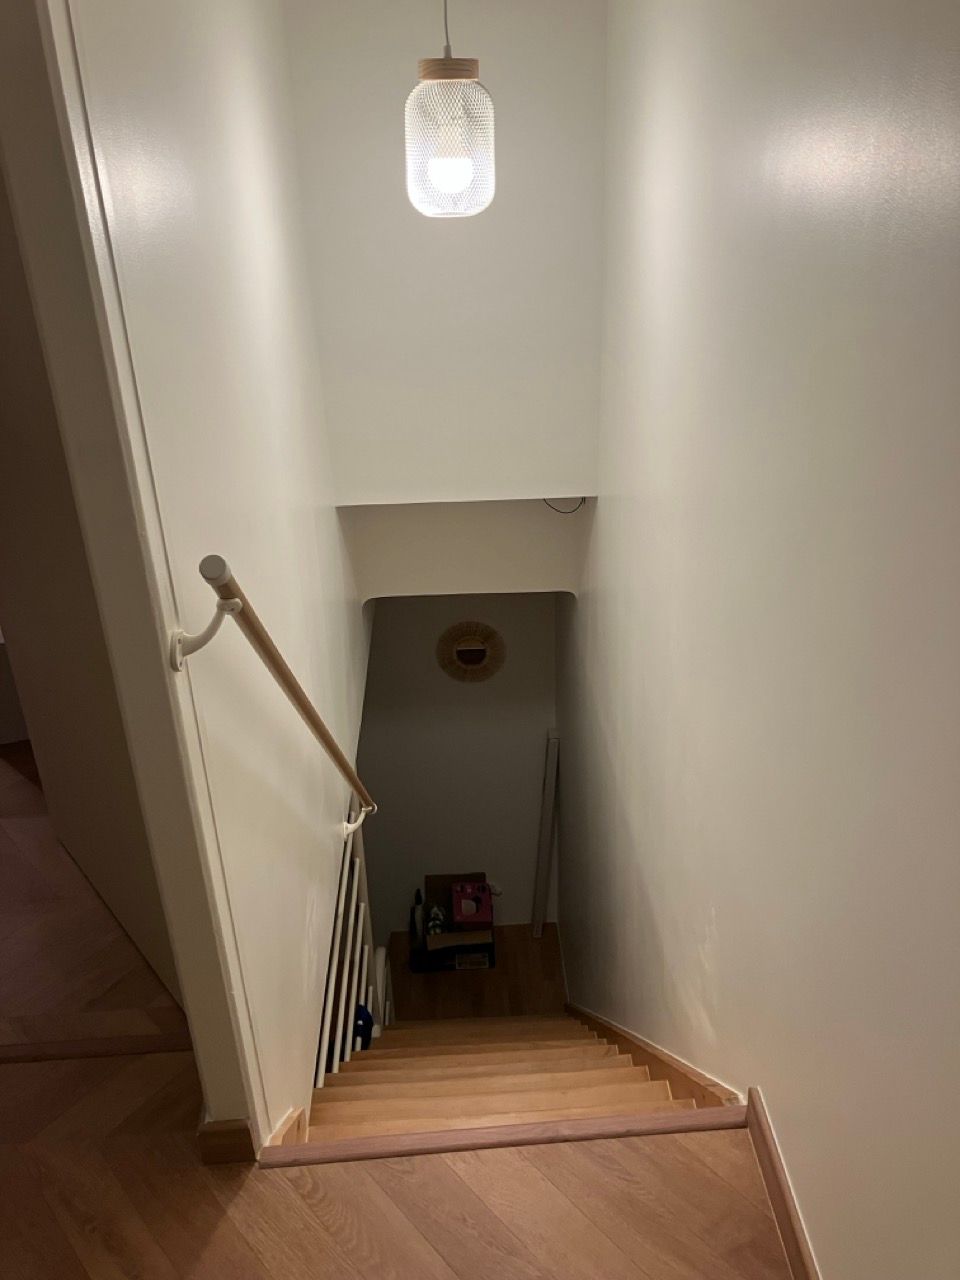
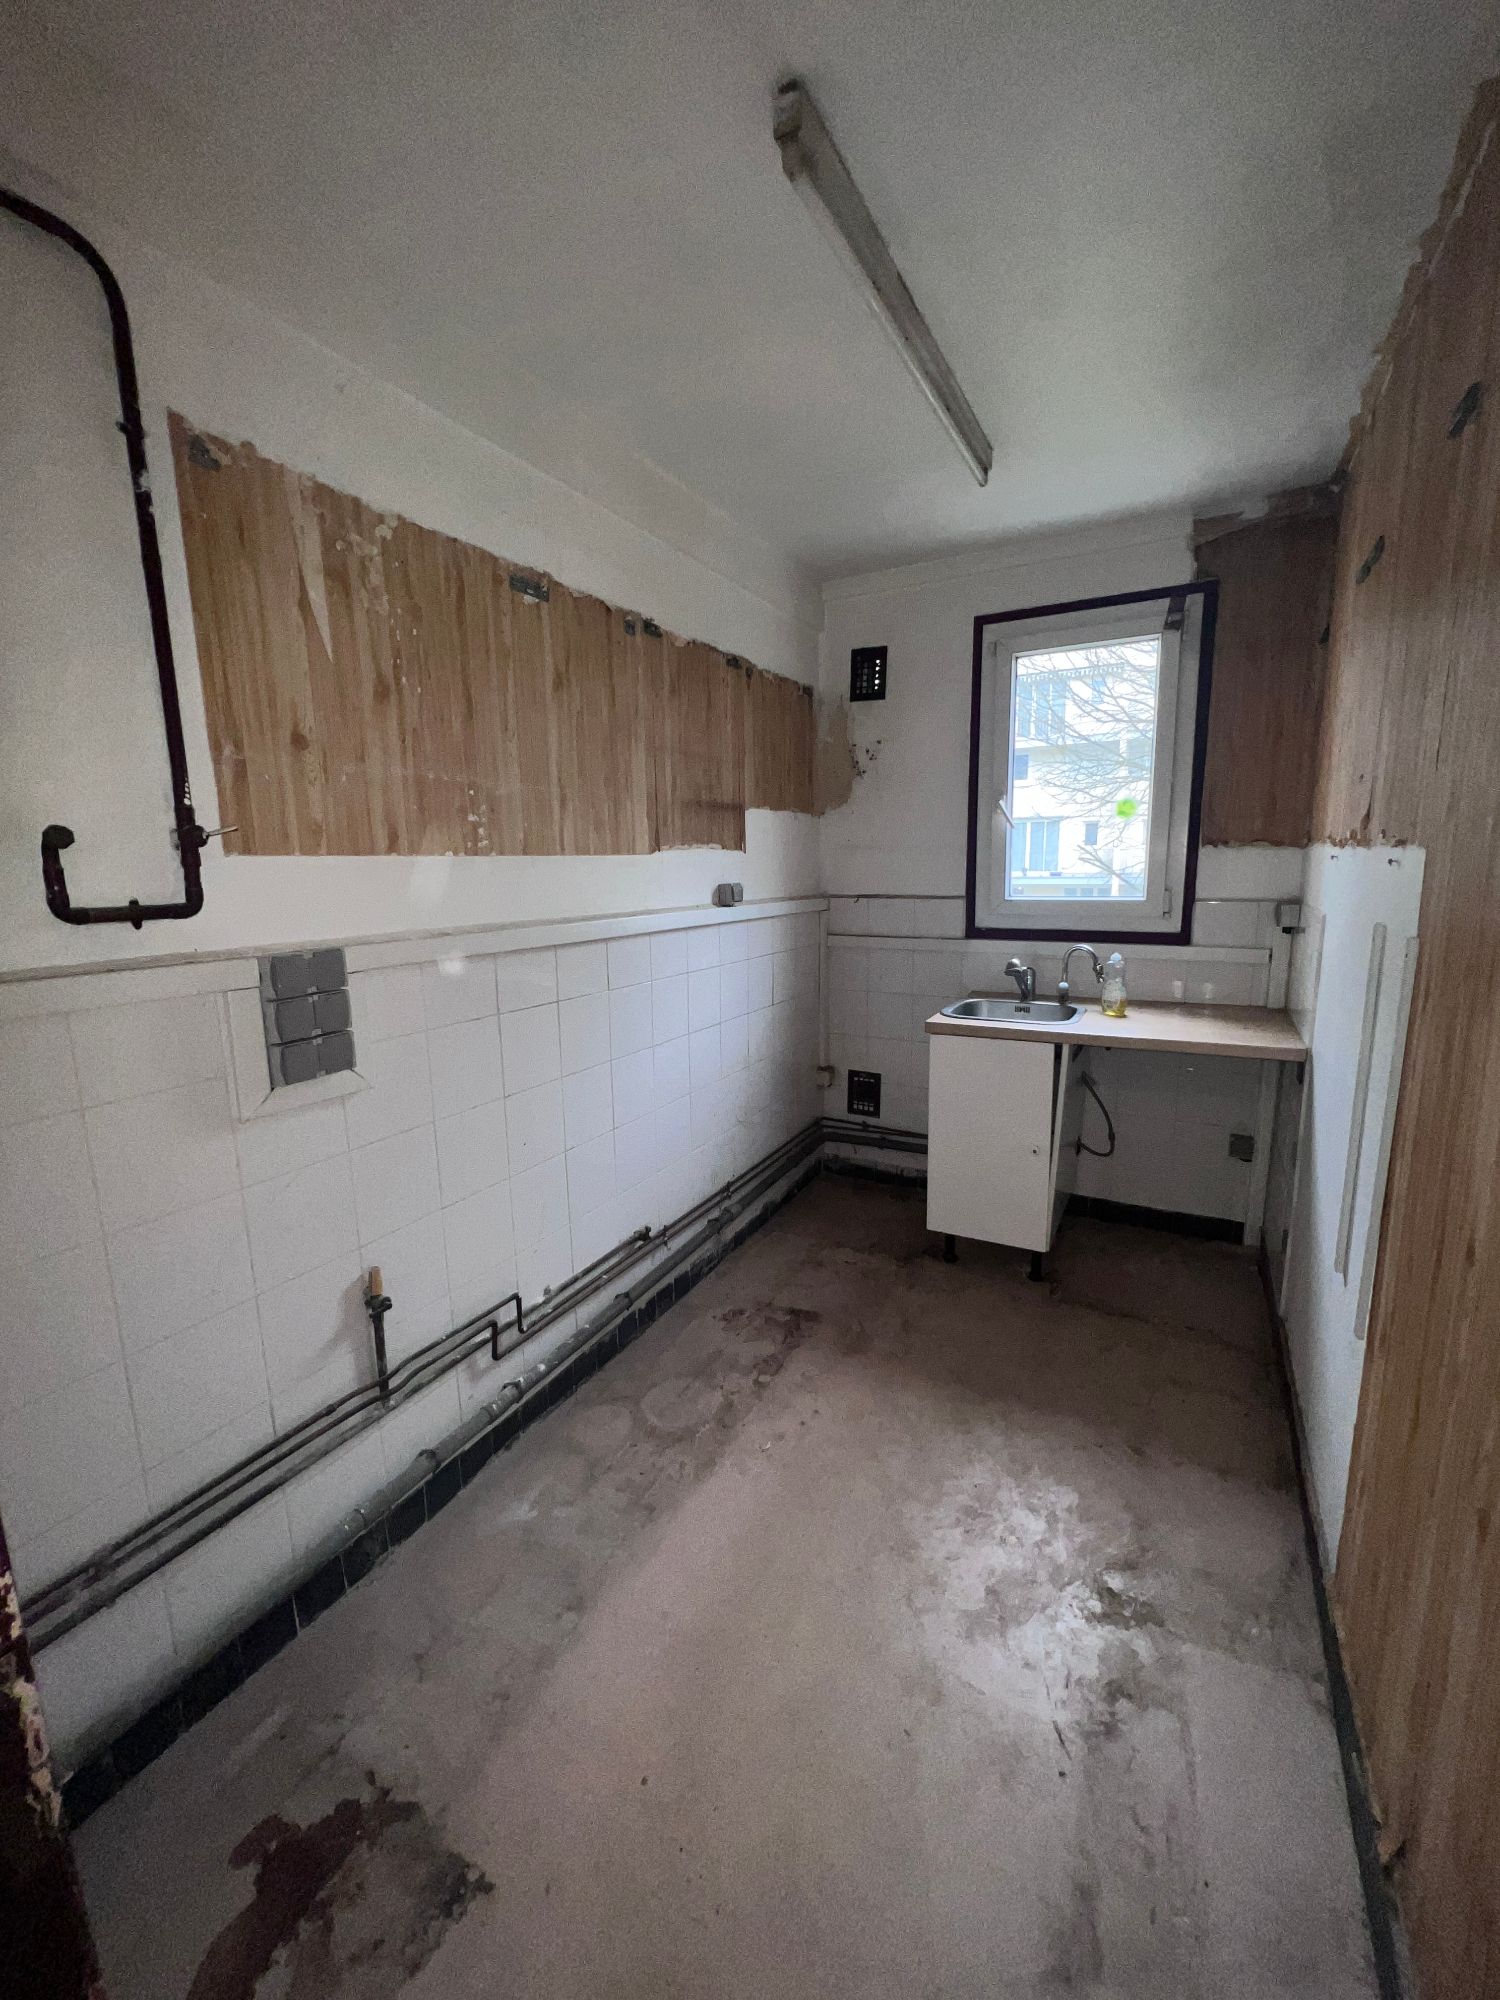
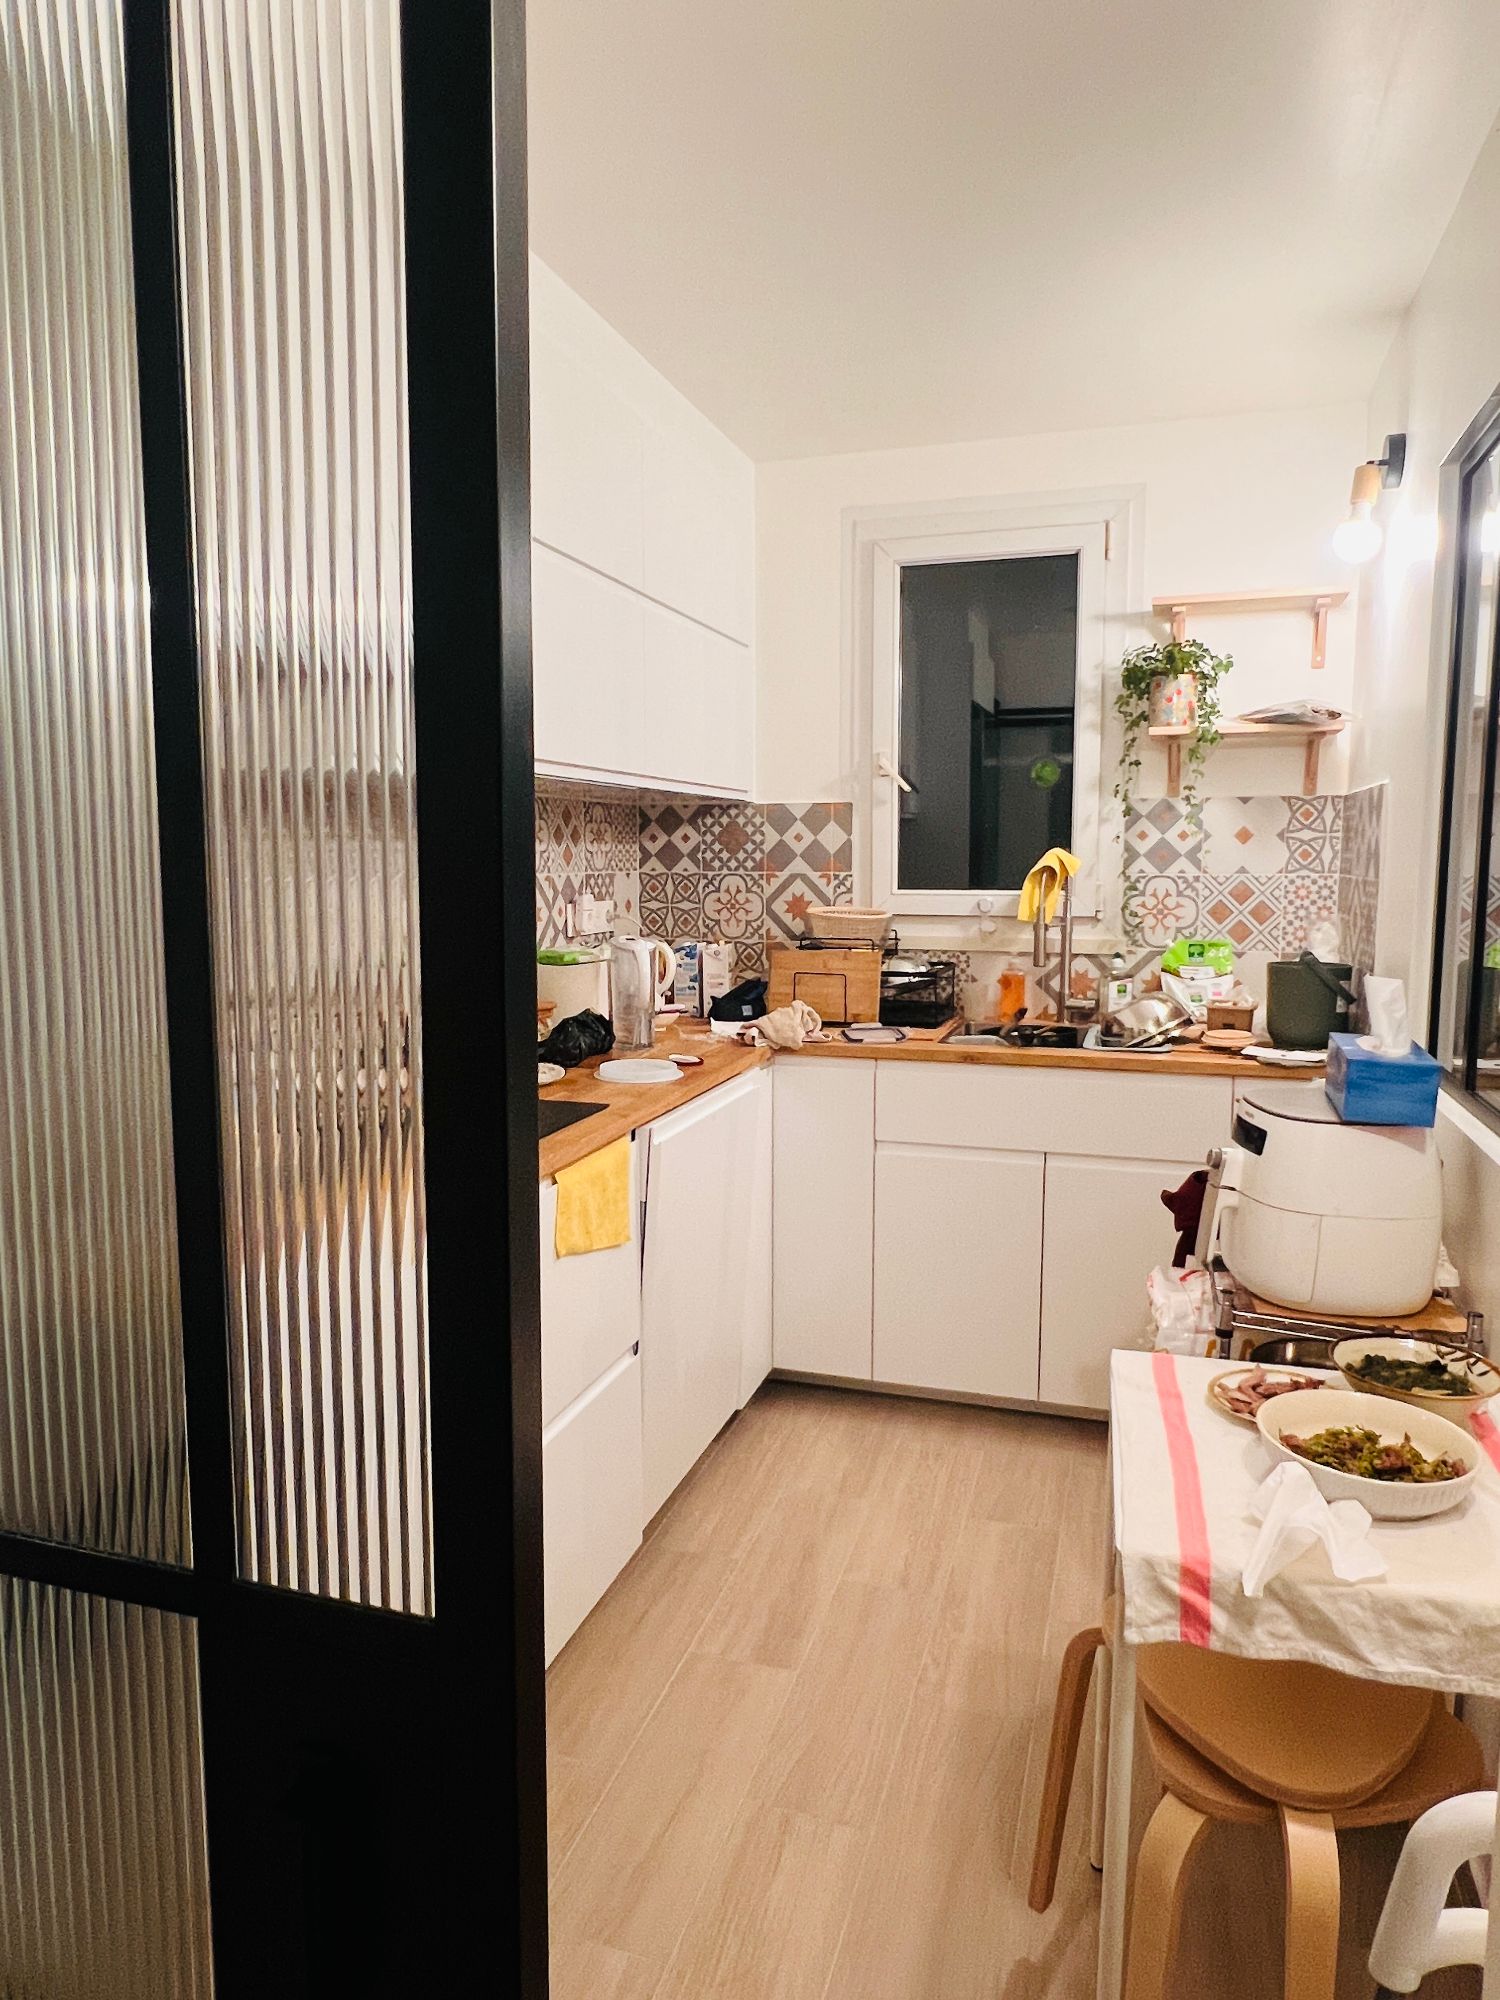
While there's a ton to plan overall, in this series, I'm zooming in on the smarthome setup, including the electrical blueprint.
Ideas & Plan
The core of the system is a Home Assistant installation (I'll call it hassio throughout) running on a Raspberry Pi.
I approached the smarthome design like layering a network stack, inspired by the OSI model. It keeps things organized and scalable. Here's how I broke it down:
- Layer 1: Electrical wiring (220V system)
- Layer 2: Low-voltage wiring (12V, 5V, 3.3V, signals)
- Layer 3: Network layer (LAN, WLAN, RF433, etc.)
- Layer 4: Transport layer (TCP, UDP, Serial, etc.)
- Layer 5: Data layer (schemas, parsing)
- Layer 6: Automation layer (hassio configs)
Layer 1: Electrical wiring (220V system)
This is the backbone - the high-voltage stuff. I drew up a detailed plan and handed it off to the renovation crew.
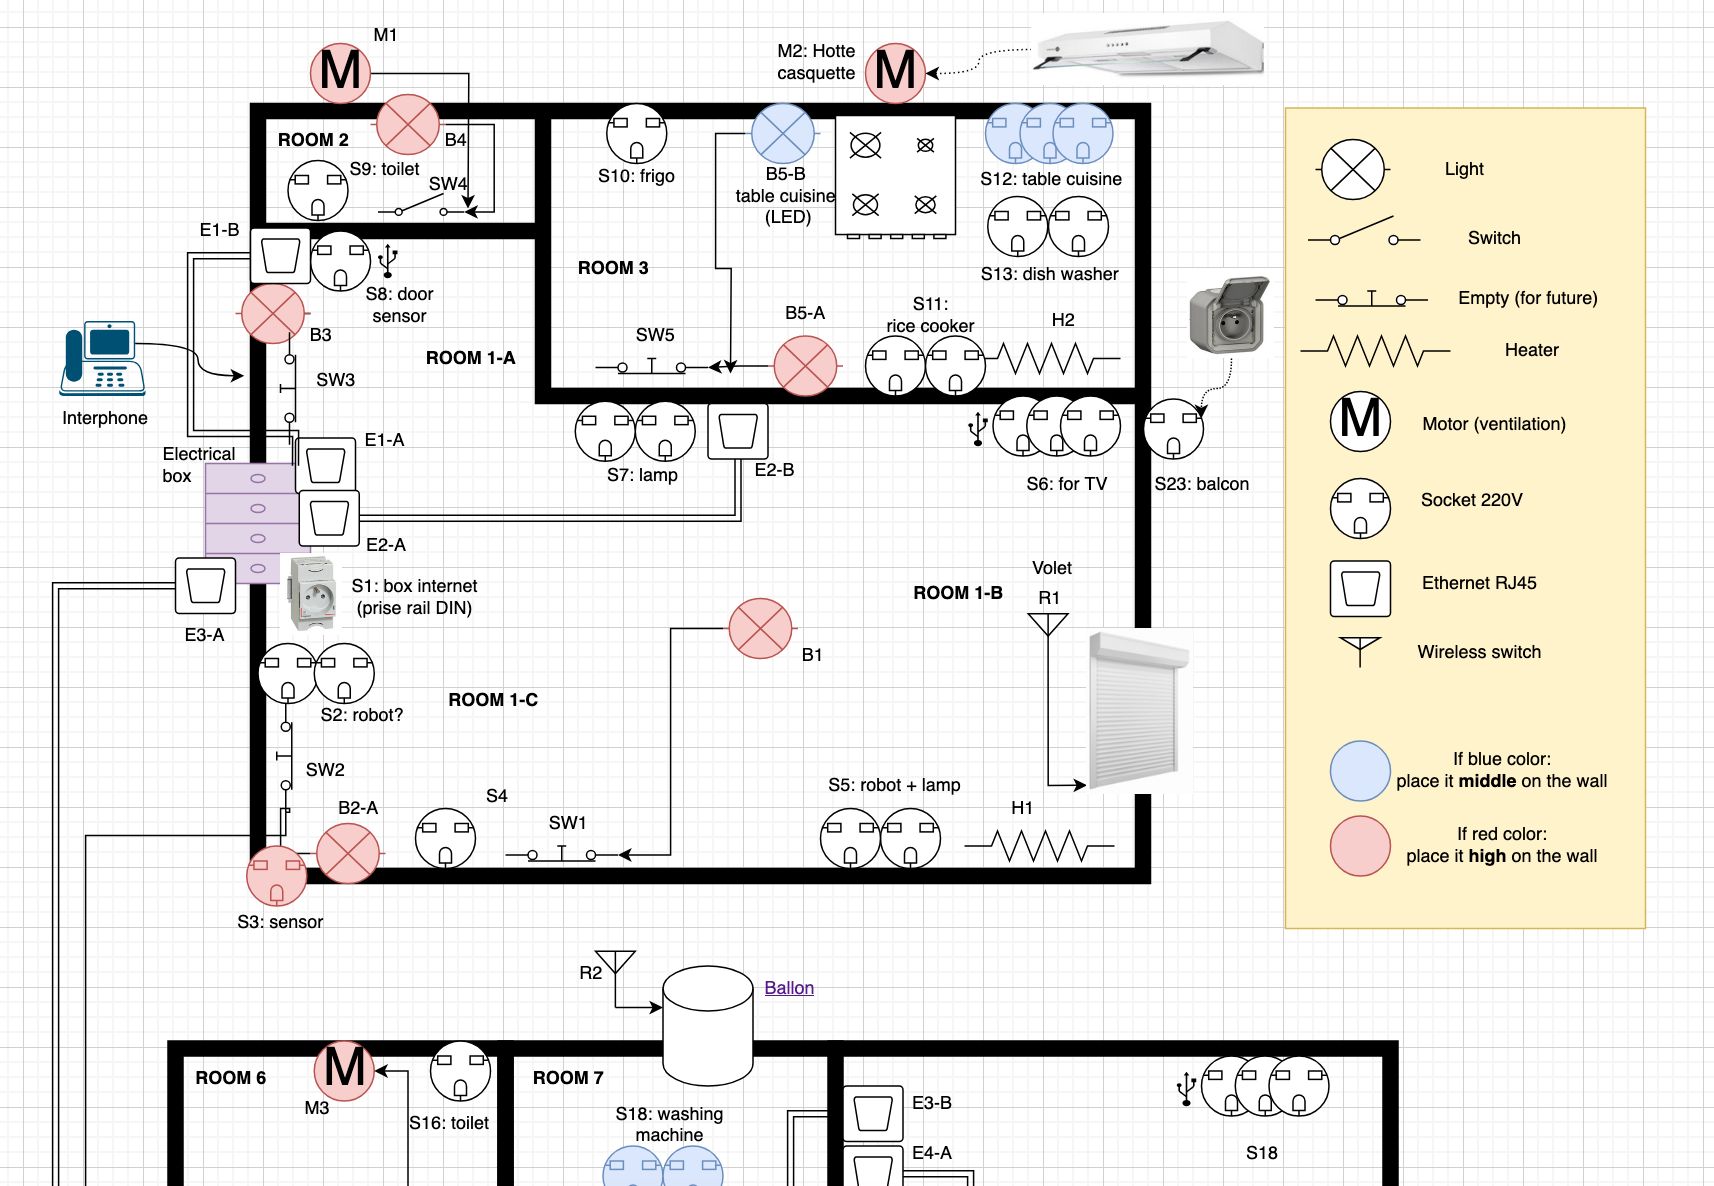
Key idea: Keep some bulb sockets always powered, so lights get controlled via WiFi rather than traditional switches. We still left slots for wall switches though. Why?
- If we ever sell, we can revert to a standard setup easily.
- Those slots double as mounts for wireless buttons - more on that later in the series.
Layer 2: Low-voltage wiring (12V, 5V, 3.3V, signals)
The idea of this layer evolved as we went:
- Built-in 5V USB power in select sockets for devices.
- Ethernet cabling throughout the apartment. I aimed for Power-over-Ethernet (PoE) for simplicity, but explaining the topology to the renovation crew was complicated, so things was not done perfectly.
- Dedicated wiring for certain sensors. Right now, the door lock sensor is the first one getting its own low-voltage line.
Layer 3: Network layer (LAN, WLAN, RF433, etc.)
For connectivity, I'm leaning heavy on WiFi and RF433 for most devices. RF433 handles all buttons - wall-mounted or portable.
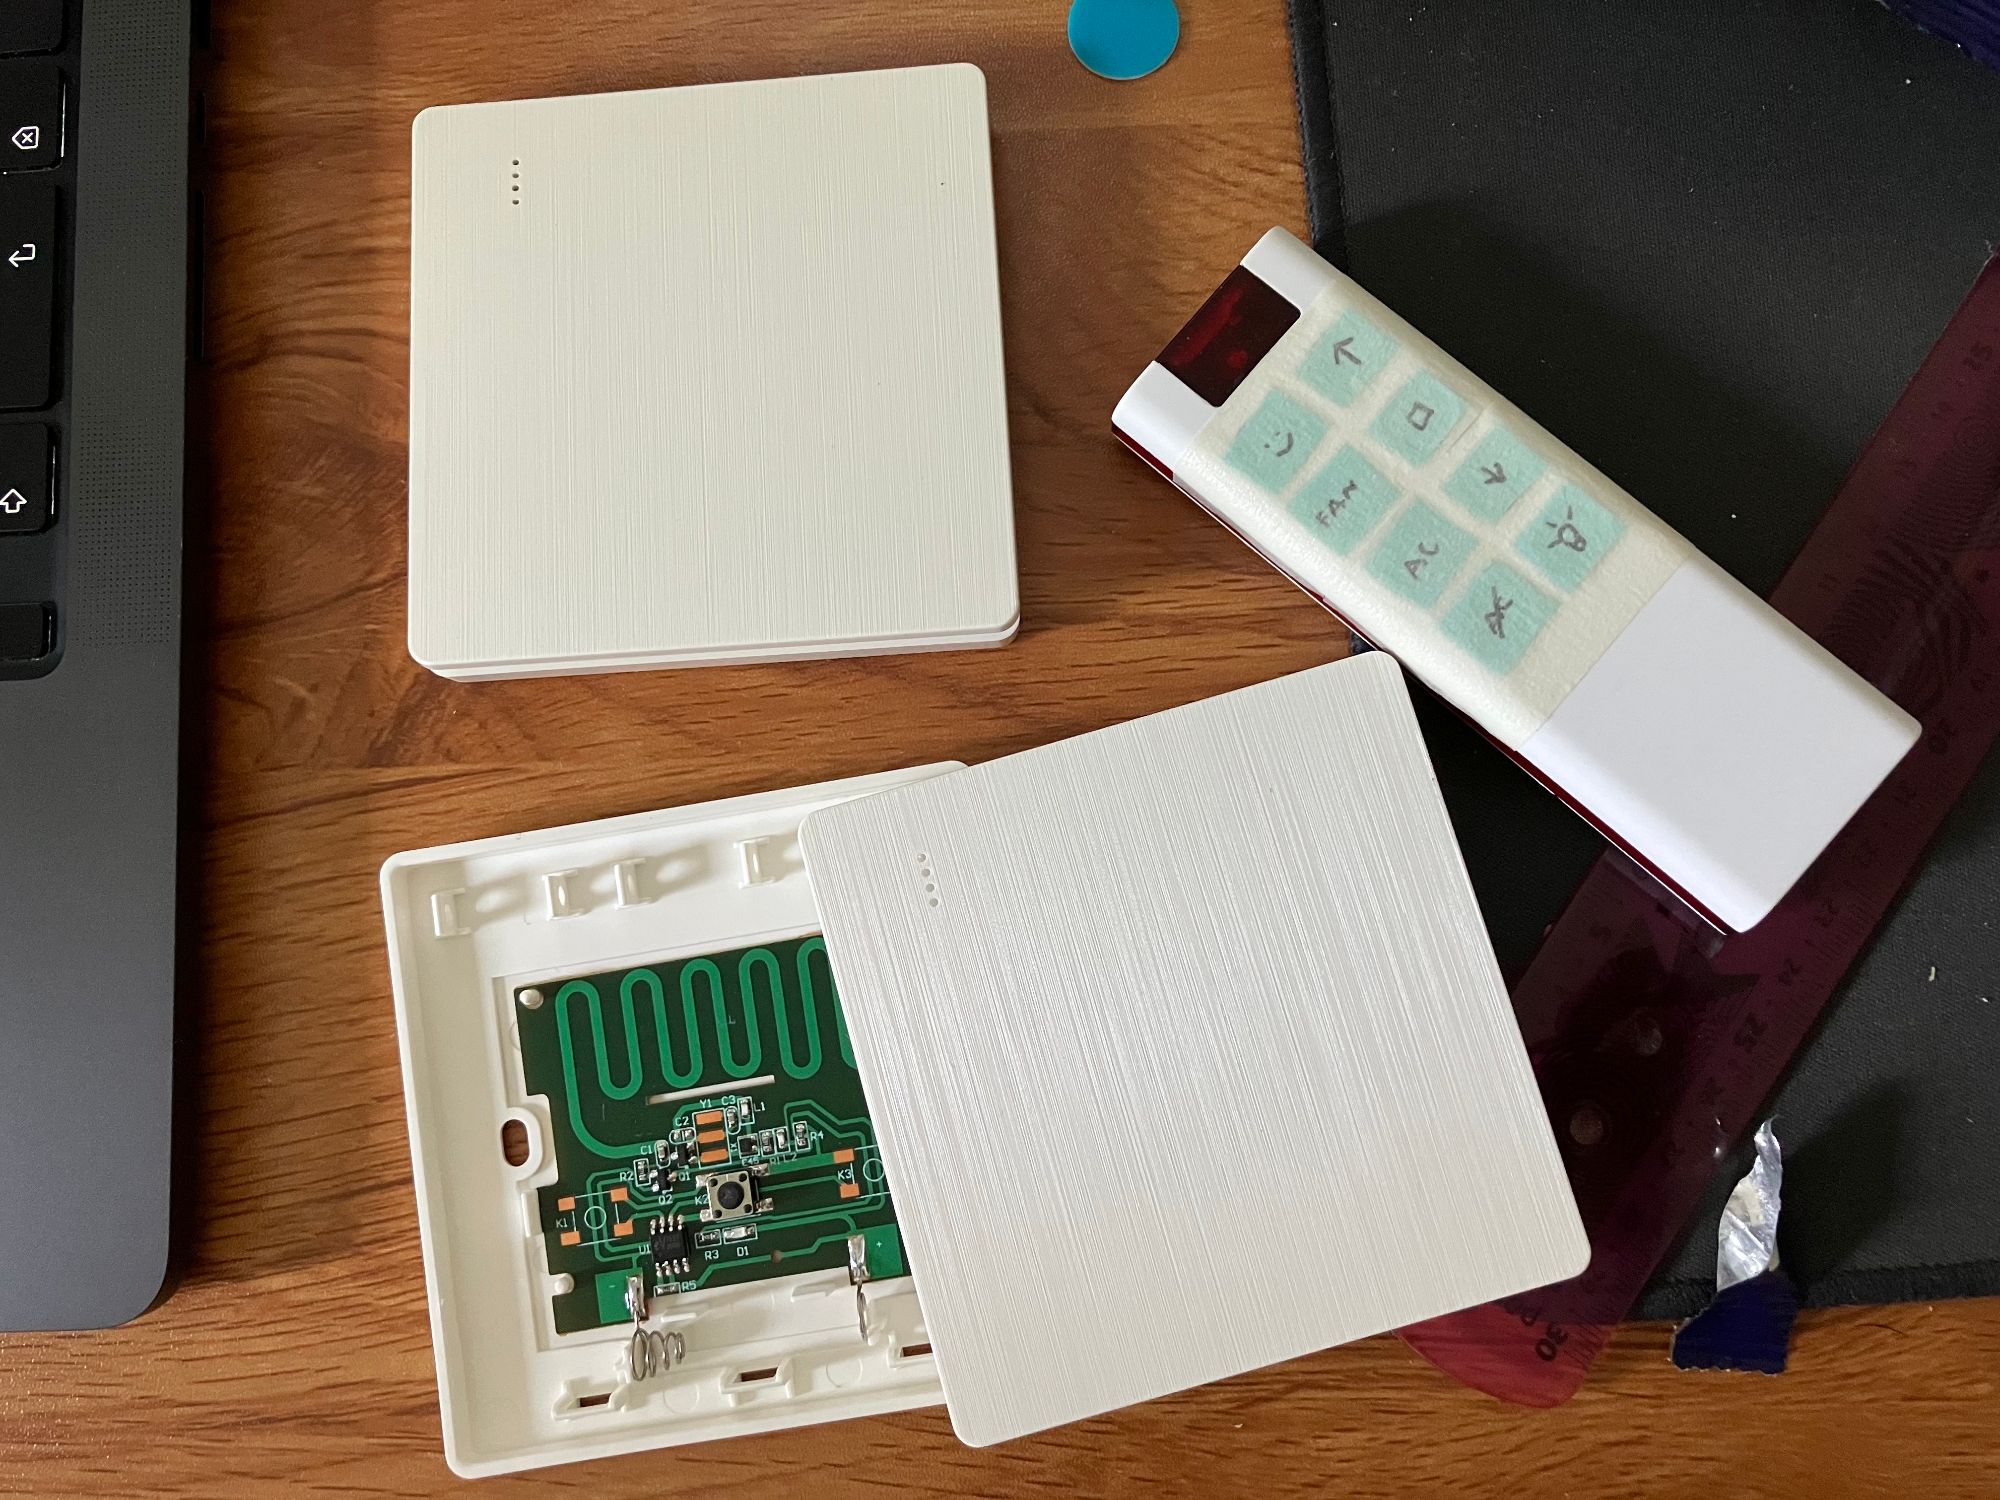
Now you may ask, why not Zigbee? While it's a good concept, manufacturers have overcomplicated it with proprietary protocols to lock you in. Total mess, especially devices from Tuya. Plus, Zigbee hubs and devices are pricey. We're talking 10€-20€ for one single wall switch.
RF433, on the other hand, is dead simple, cheap 🤑 🤑 (only 3€-10€ per module), reliable, with great range and battery life (upto 10+ years on a single cell). The downside? No ready-made gateway for hassio integration. But building one is simple. I'll cover how I built my own in the next part.
Layer 4: Transport layer (TCP, UDP, Serial, etc.)
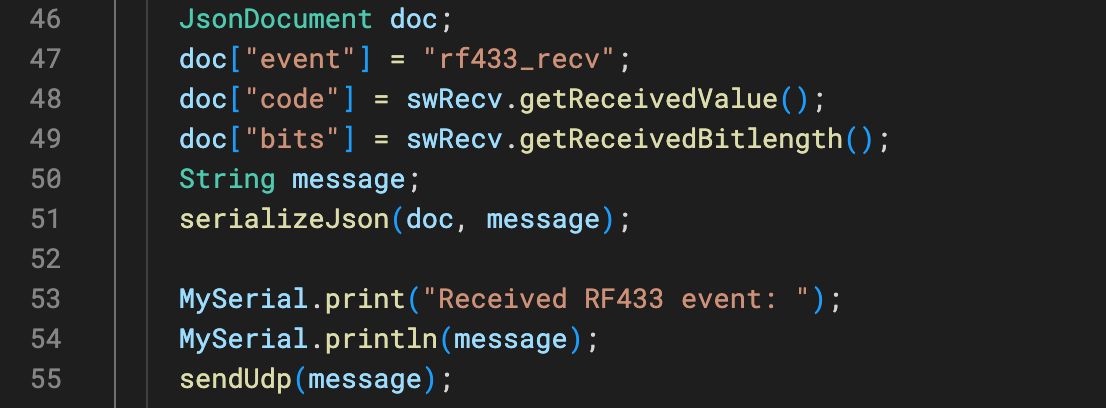
Most devices chat via HTTP POST/GET for reliability. But for ESP32 comms, I went with UDP to cut latency - no handshake overhead, perfect for real-time inputs like button presses.
Layer 5: Data layer (schemas, parsing)
Sensors and buttons feed events to a custom server in JSON format. Post-processing handles things like caching and debouncing, then pushes to hassio via webhooks or REST APIs.
From the example above, the ESP32 sends this JSON payload:
{
  "event": "rf433_recv",
  "code": 12345678,
  "bits": 24
}
Layer 6: Automation layer (hassio configs)
This is where the magic happens - all the rules and automations in Home Assistant. I'll dive deep into the setup in the next sections.
Raspberry Pi Setup
The Raspberry Pi 4 (4GB RAM) is the heart of the system. For storage, instead of a microSD card, I opted for a 128GB USB 3.2 SSD. It's more reliable and faster, while still being affordable.
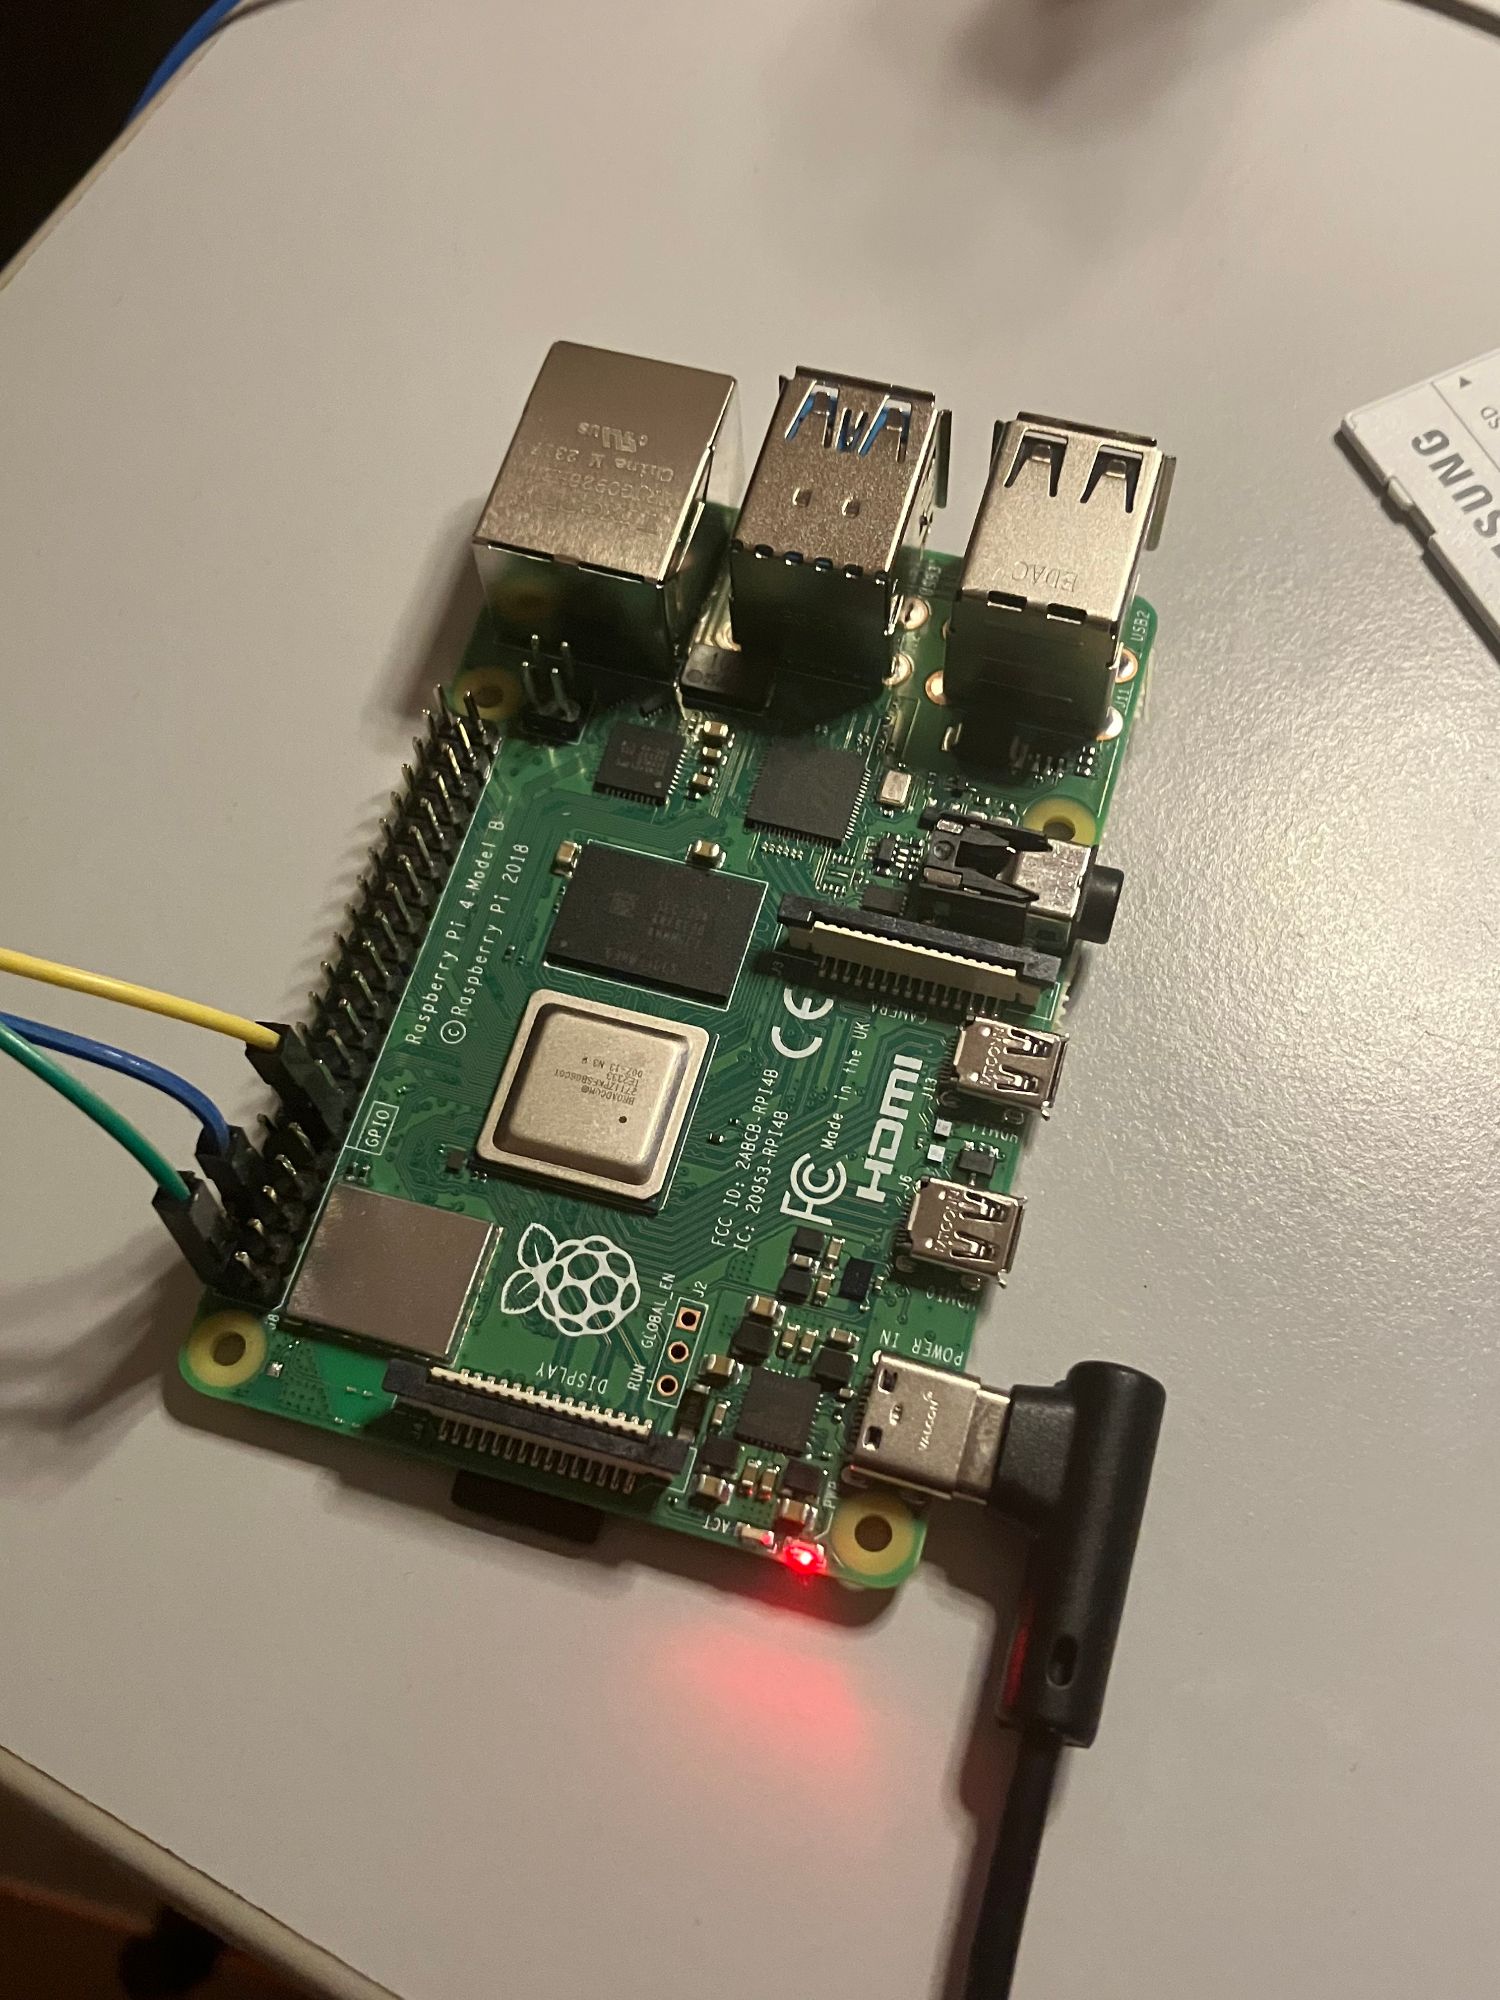
I installed Home Assistant OS on the Pi. The installation process was straightforward, thanks to the official image.
Home Assistant Configuration
Once hassio was up and running, I started configuring it to suit my needs. Here's a breakdown of the key components:
Network Configuration
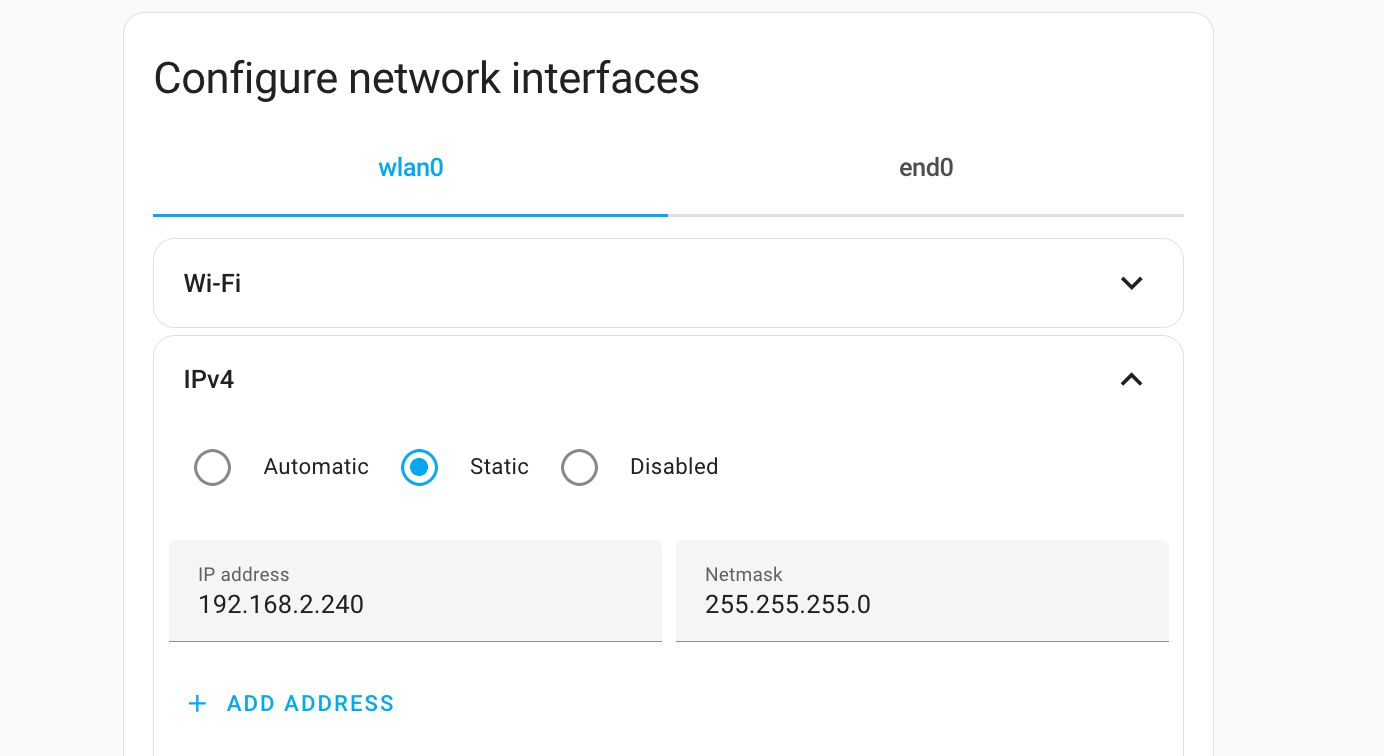
First, I set up the network. The Pi connects to my home WiFi (I don't use Ethernet because I want to move it around if needed). I assigned a static IP to ensure consistent access.
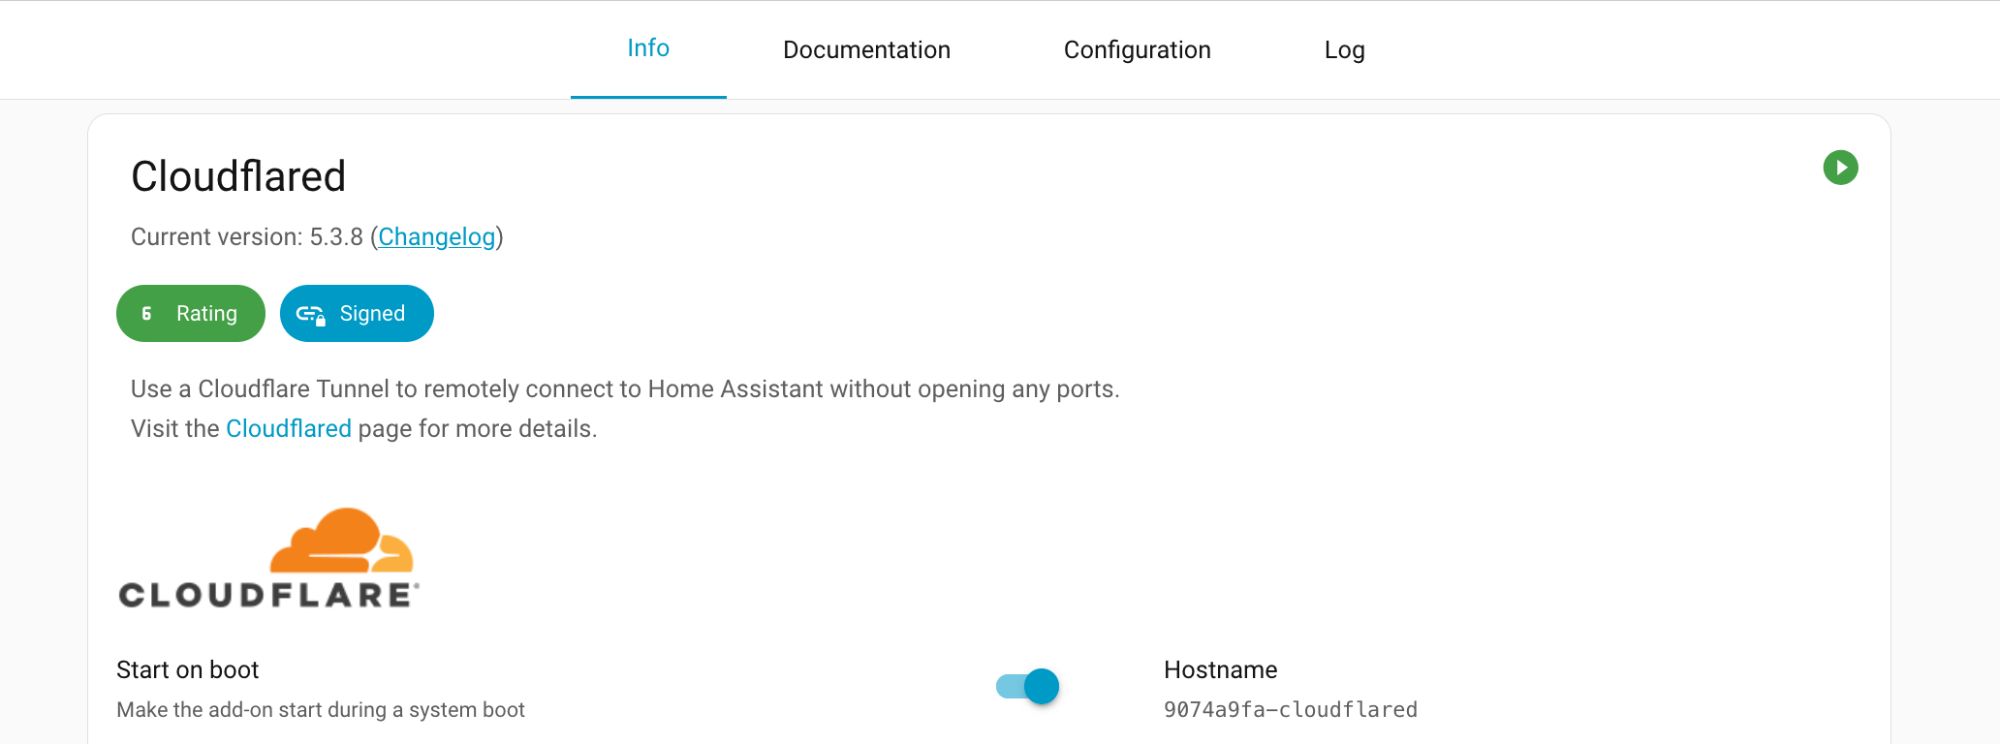
I also setup a Cloudflare Tunnel to expose hassio over the internet. This allows me to access my smarthome from anywhere without using a VPN.
Integrations
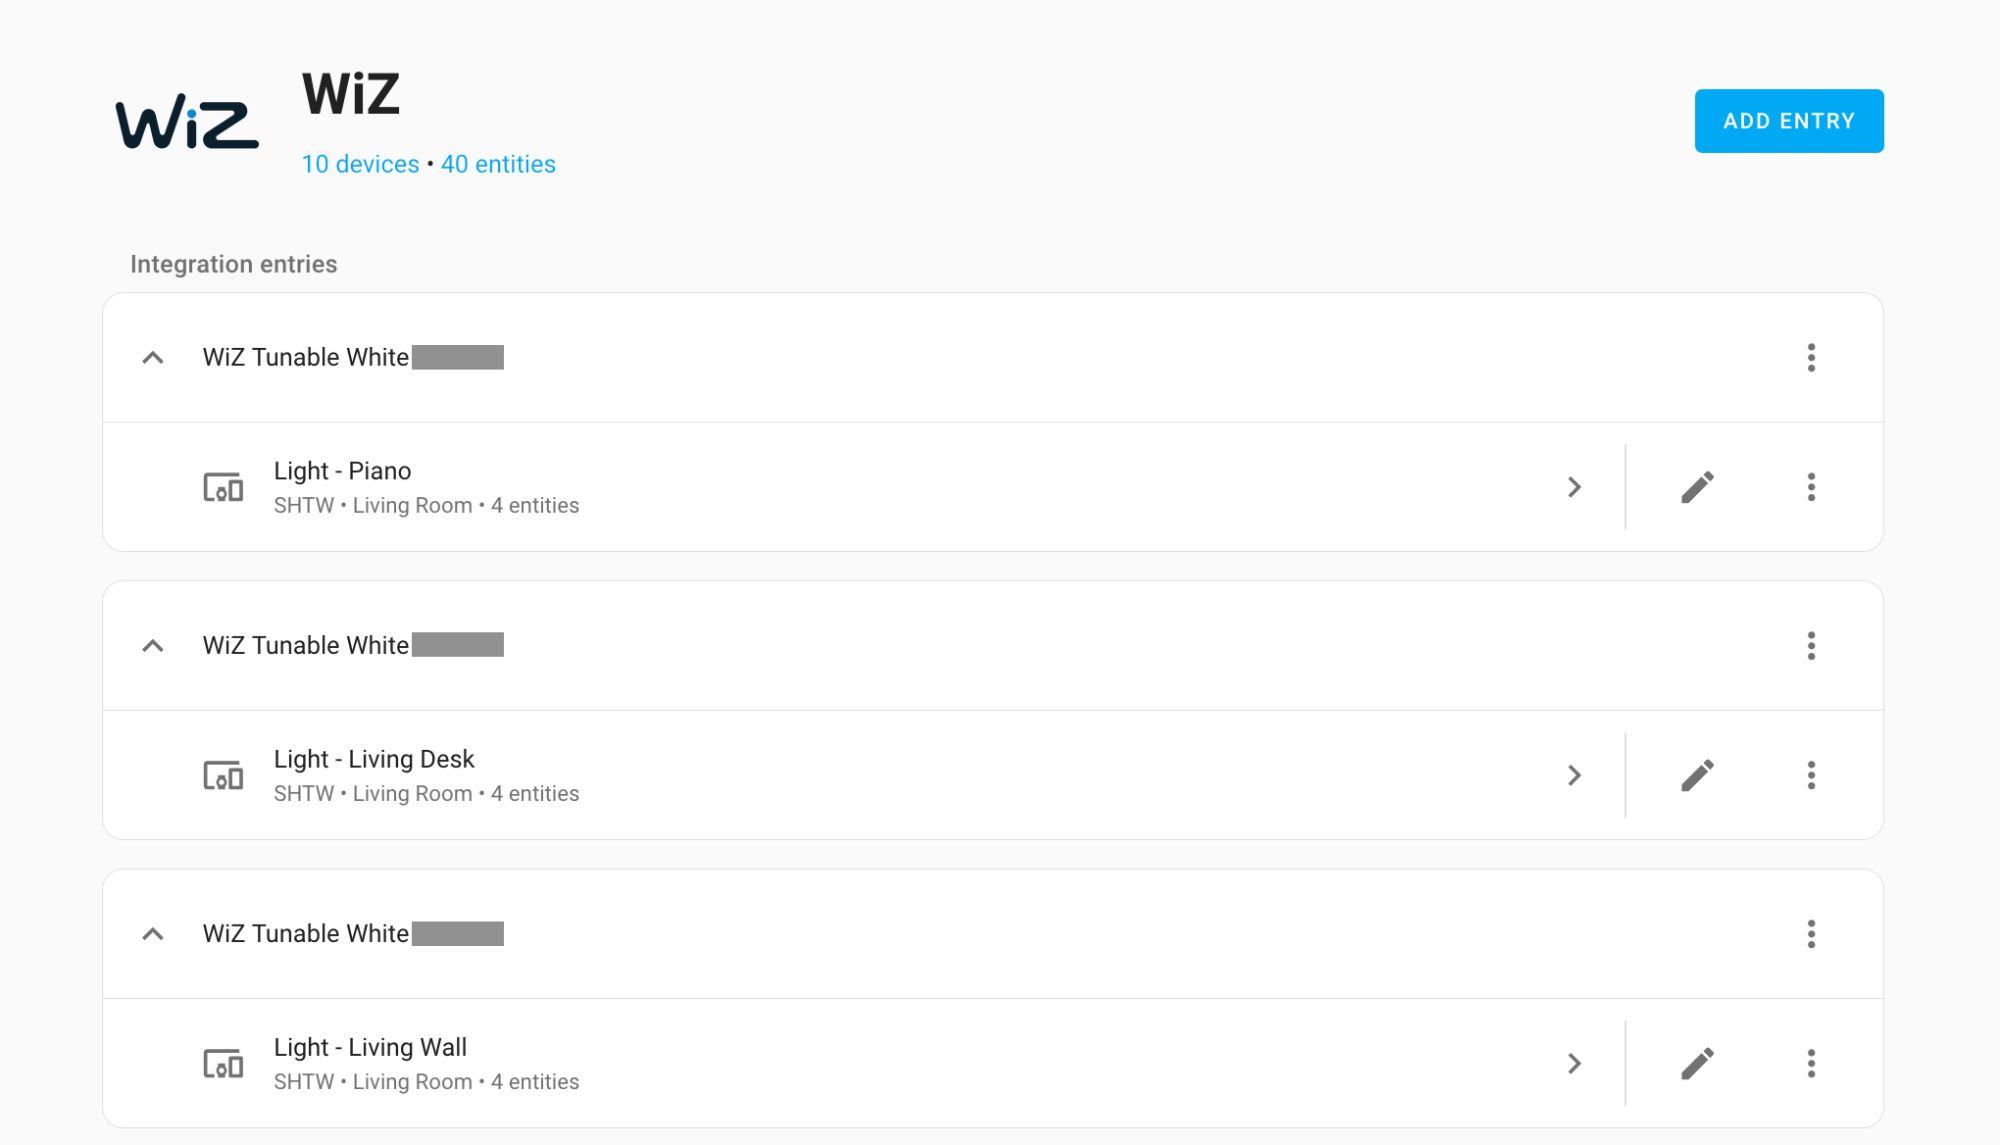
The first system to integrate was WiZ lights. They are cheap, offers great color rendering and brightness, and most importantly, they have a local API that works perfectly with hassio.
I installed the WiZ integration and added all my bulbs.
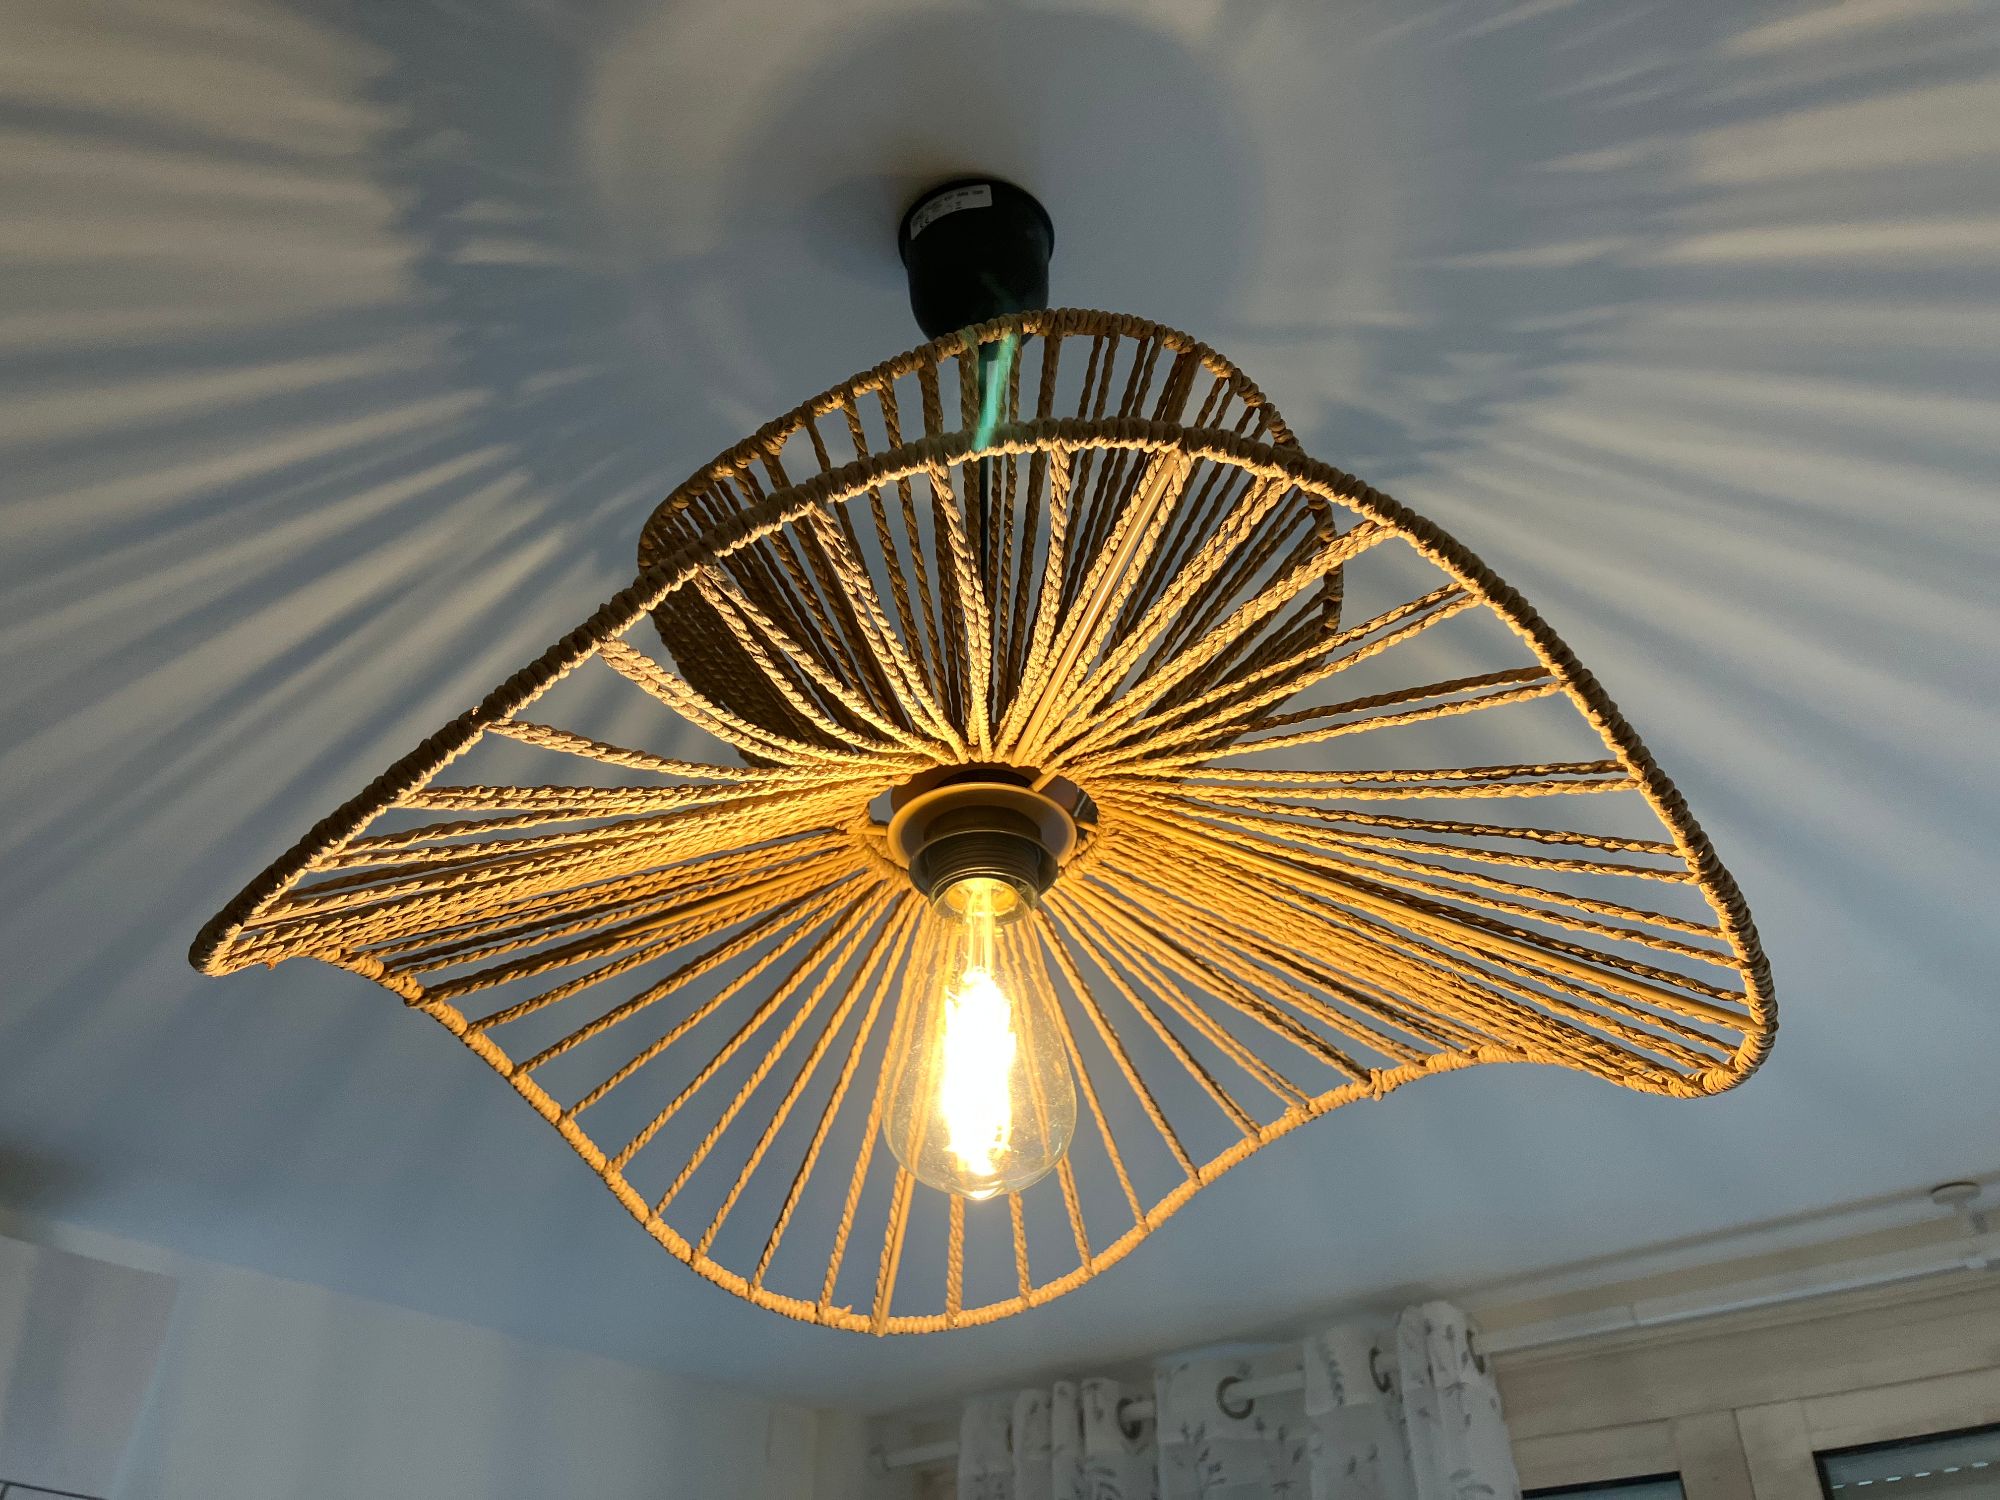
Testing by turning them on/off, change colors and adjust brightness.
Custom addons
Next, I created myself a few custom addons to handle RF433 devices and other sensors. The first one is a simple UDP server that listens for messages from ESP32 devices.
I took the addon template from here, but with a nodejs base image instead of Python.
FROM node:22.11.0-bookworm-slim

ENV DEBIAN_FRONTEND=noninteractive

WORKDIR /app

COPY app/package.json .
COPY app/package-lock.json .
RUN npm ci

COPY app .

CMD ["npm", "start"]
Since the code is not very clean, I won't make it open-source for now. But the basic idea is to listen for UDP packets, parse the JSON payload, and send events to hassio via webhooks.
const udpServer = dgram.createSocket('udp4');

udpServer.on('message', (msg, rinfo) => {
  console.log(`UDP server got: ${msg} from ${rinfo.address}:${rinfo.port}`);
  try {
    const data = JSON.parse(msg.toString());
    // Process the data as needed
    // Then, send to Home Assistant via webhook
  } catch (error) {
    console.error('UDP server Error parsing message:', error, '\nMessage:', msg.toString());
  }
});

udpServer.on('listening', () => {
  const address = udpServer.address();
  console.log(`UDP server listening ${address.address}:${address.port}`);
});

udpServer.bind(PORT_SERVER_UDP);
Verifying it works by sending a test UDP packet from my laptop:
const client = dgram.createSocket('udp4');
client.bind(async () => {
  client.setBroadcast(true);
  const dataStr = JSON.stringify({ event: 'rf433_recv', code: 12345678, bits: 24 });
  const message = Buffer.from(dataStr);
  client.send(message, 0, message.length, UDP_RECEIVE_PORT, '192.168.2.255'); // test broadcast
});
On the hassio side, it should receive the event:
UDP server got: {"event":"rf433_recv","code":12345678,"bits":24} from 192.168.2.154:17351
Next Steps
That's it for part 1! We already have a solid foundation with Home Assistant running on a Raspberry Pi, integrated with WiZ lights, and a custom UDP server for receiving RF433 events.
In the next part, I'll cover how I built the RF433 gateway using an ESP32, and how I set up buttons and automations in Home Assistant.
